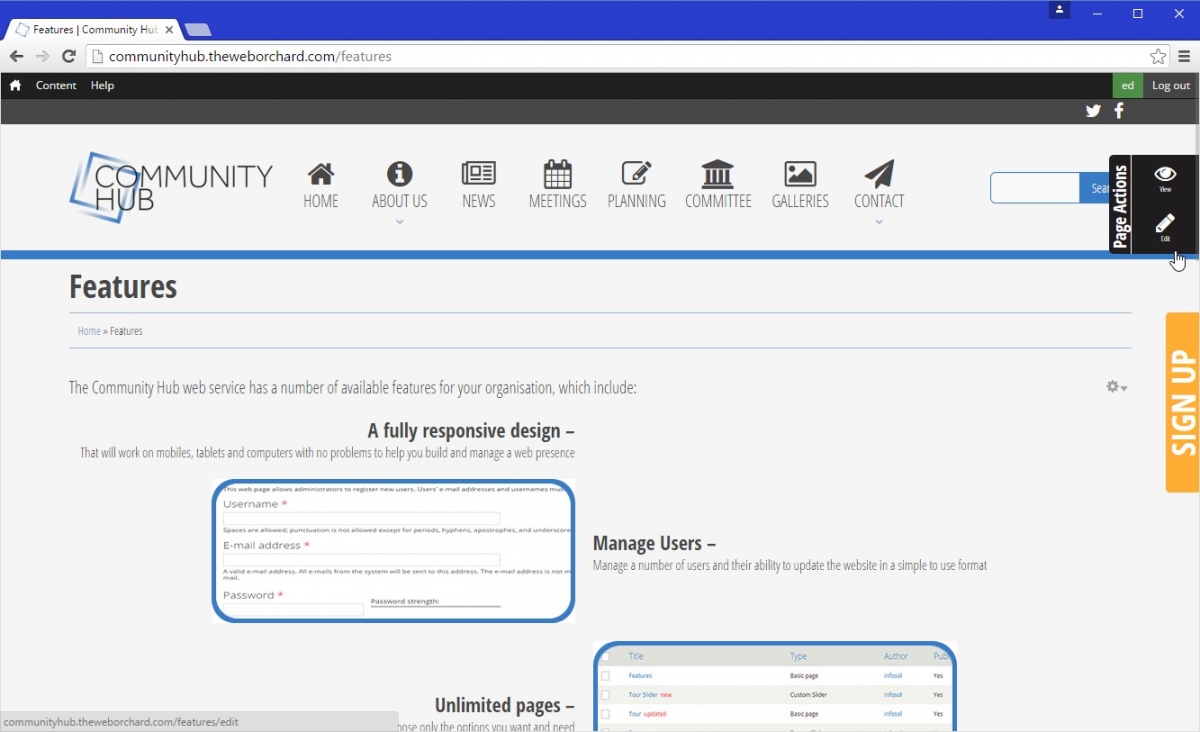
After signing in, you can edit the content on most pages using the Page Actions pop-out on the right of the screen.
Simply move the mouse over the tab and select the action you want, e.g. Edit. This will open the editing interface.
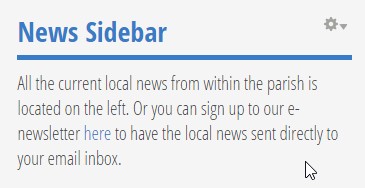
Certain elements, typically those which appear on more than one page, must be edited separately. To do this, hover the mouse over the content you wish to edit.
If the content is editable, a cog will appear in the top right. Click the cog, followed by Configure Block. This will open the editing interface.
Content Editing Interface Overview
The editing interface will appear differently, depending on what type of content you are editing. However, all editors share the same basics.
Scrolling down the page, you will see various fields which make up the page’s content.
Most content types will have at least two fields - a title and a body
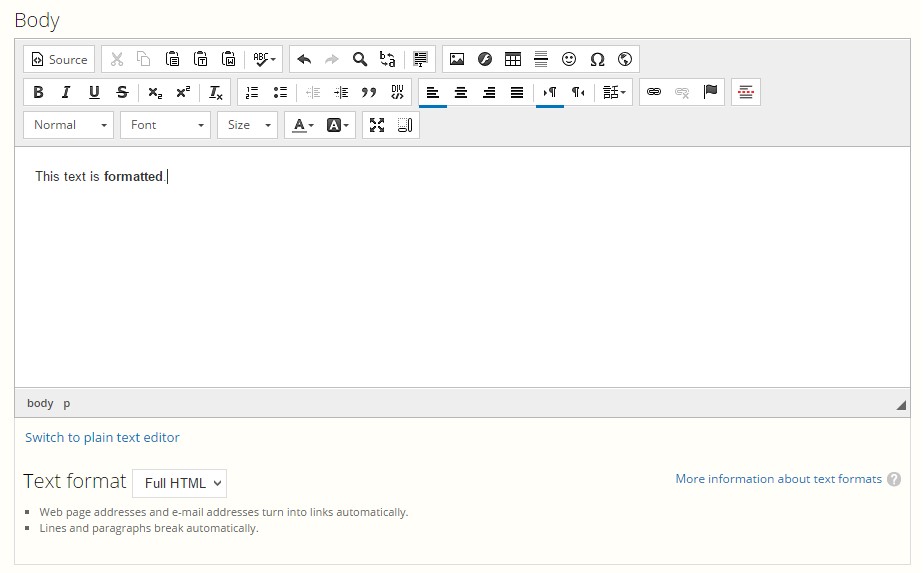
The title is a simple text field, and only allows the entry of unformatted text.
The body (you might have to click on an Add Basic Text option to show this) allows for formatted text, and is much more similar to a desktop word processor. You can select text and make it bold, italic etc. You can also insert images and links into the text.
There are other types of fields, which are fully explained under Content Type References.
Some fields have a red star next to them - this indicates the field is required, and you will not be able to save any changes unless the field is filled. Fields without red stars are optional, and can be left blank if their content is not relevant to the page.
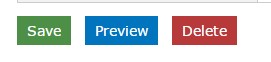
At the bottom of the editing interface is a green Save button, which is used to save and publish your changes and return you to the page you were on. No changes are saved until you click this button, so be sure to save before you close your browser window